Make Your Own Period Tracker
Replace your period app in 5 minutes, and own your most sensitive data. It's tracking without the tracking.
This post will guide you through setting up your own Google Sheets-based period tracker (with all the features of your "favorite" app). You'll be able to:
- Easily record period days, flow and any symptoms
- See past period dates and trends
- Anticipate upcoming periods and fertile days
- Get email alerts (for you, or anyone else)
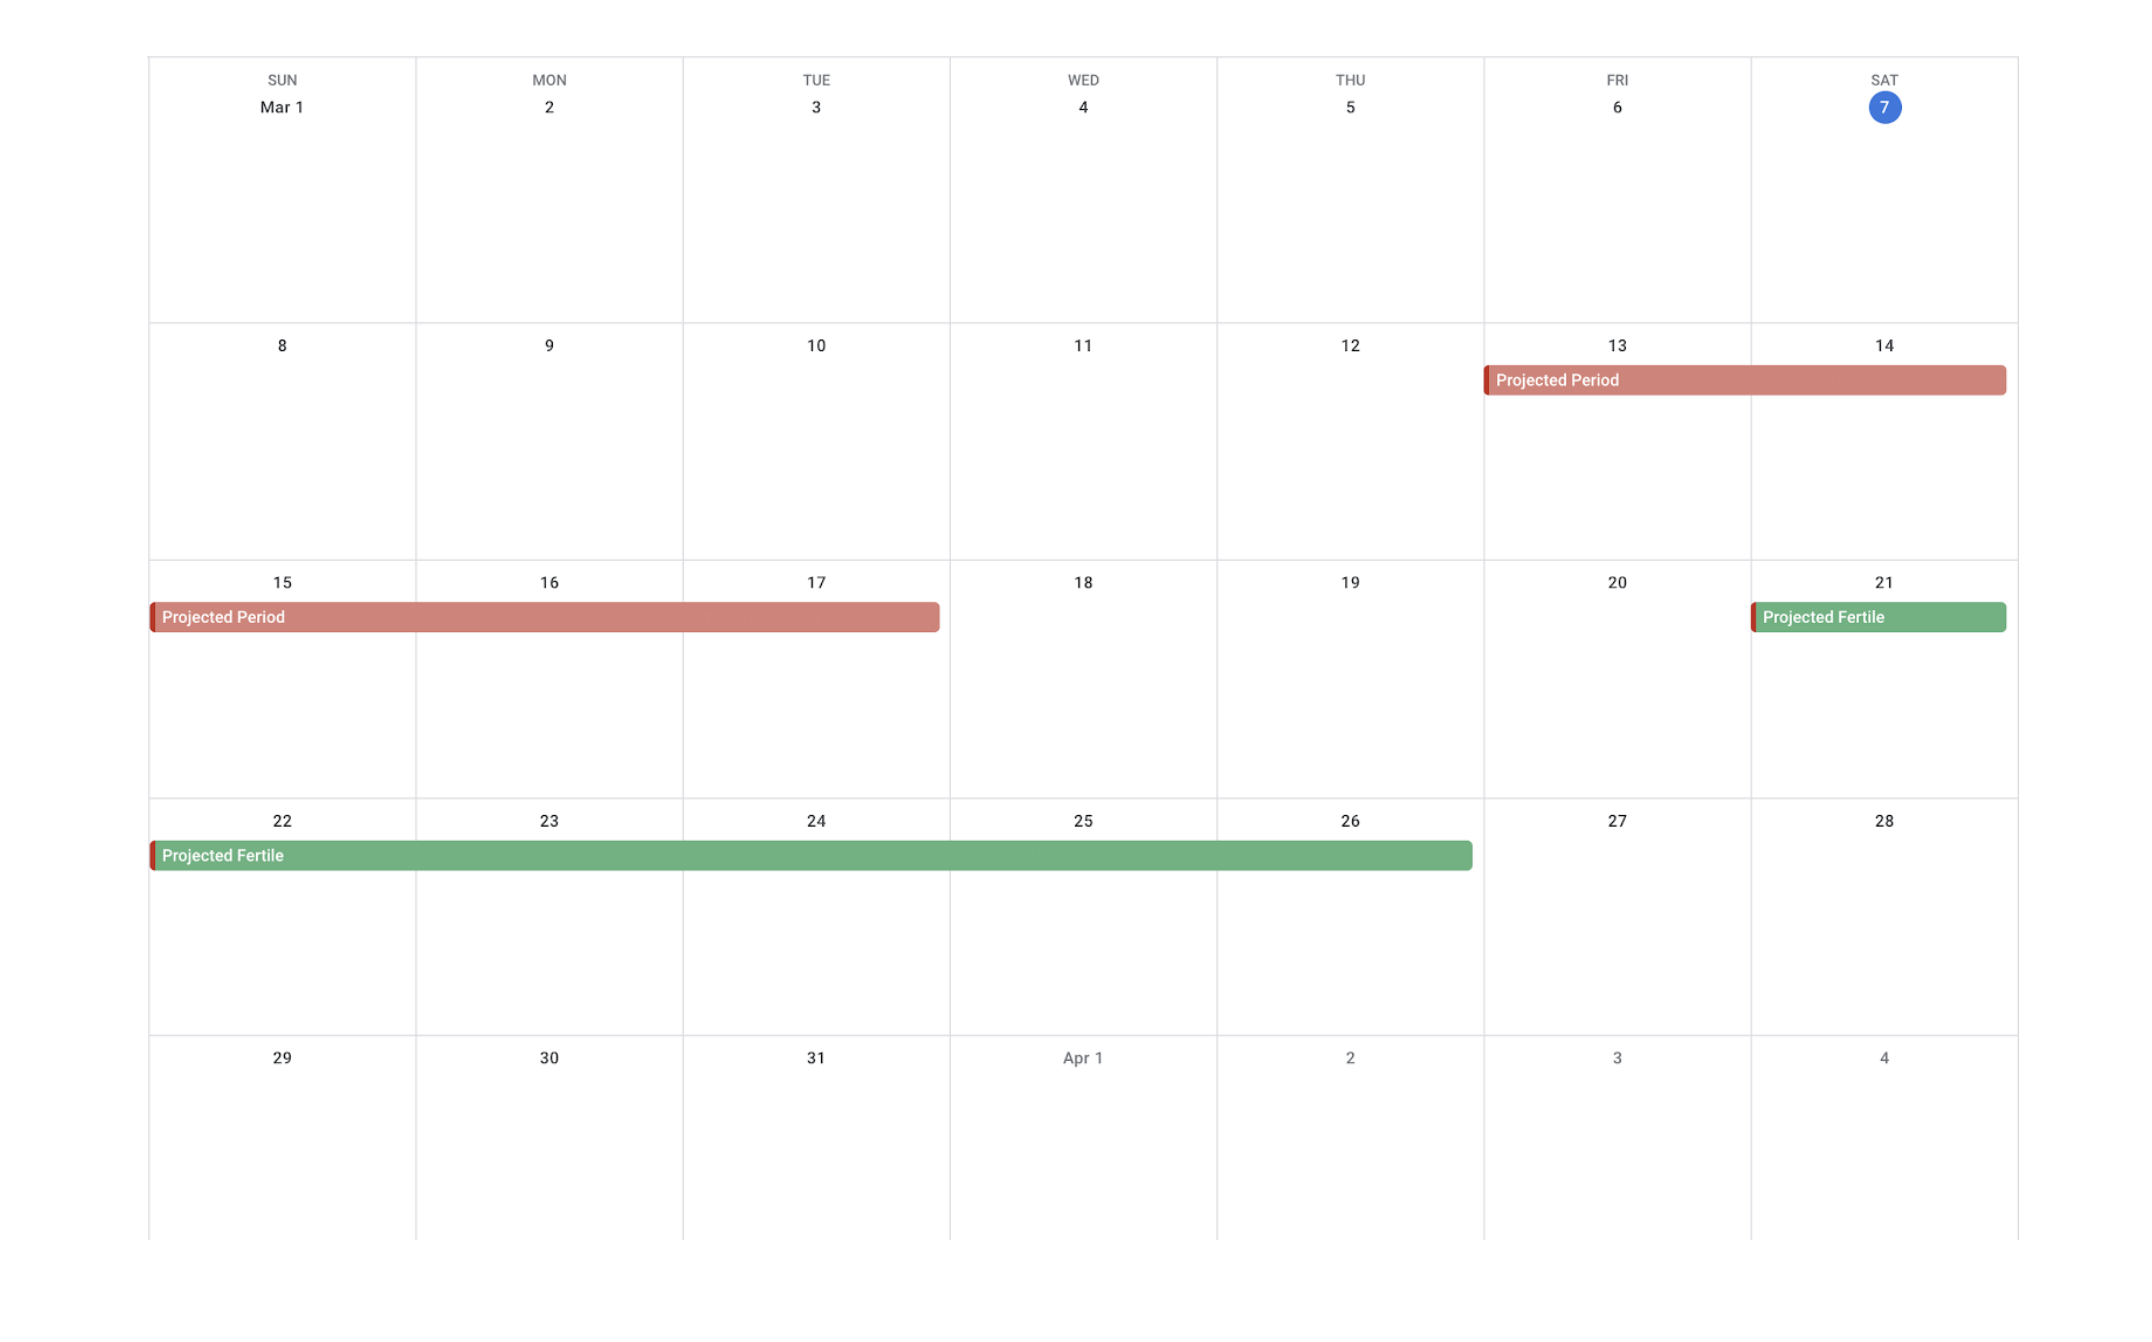
- See past and future periods / fertile days on your Google Calendar
- Own and access your raw data
- Customize the tracker in any way you'd like
You can do a quick set-up in 5 minutes, and then optionally spend another 10 setting up email and calendar integrations. And because it's a spreadsheet, all the formulas are there, so you can customize this to your heart's content.
Read more about why I made this here. TLDR: I was frustrated with iPhone period apps and wanted to own my own period data.
Note: This assumes that you have a Google account. If you don't, or if you don't want this data in your Google account, you should be able to get this working in Excel or other spreadsheet software with a few modifications, but you will not have the form, email and calendar integration.
🔴 Five Minute Set Up
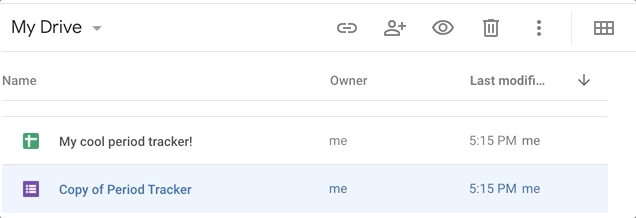
1. Copy The Sheet
Make a copy of this Google Sheet. Rename your copy anything you'd like. (i.e. My top secret menstrual tracking device, period stuff, There will be blood, whatevvv.) Only you will be able to see this copy.

You should now see two files in your Google Drive. The sheet you copied, and a Google Form to submit to it. Rename the form if you'd like.
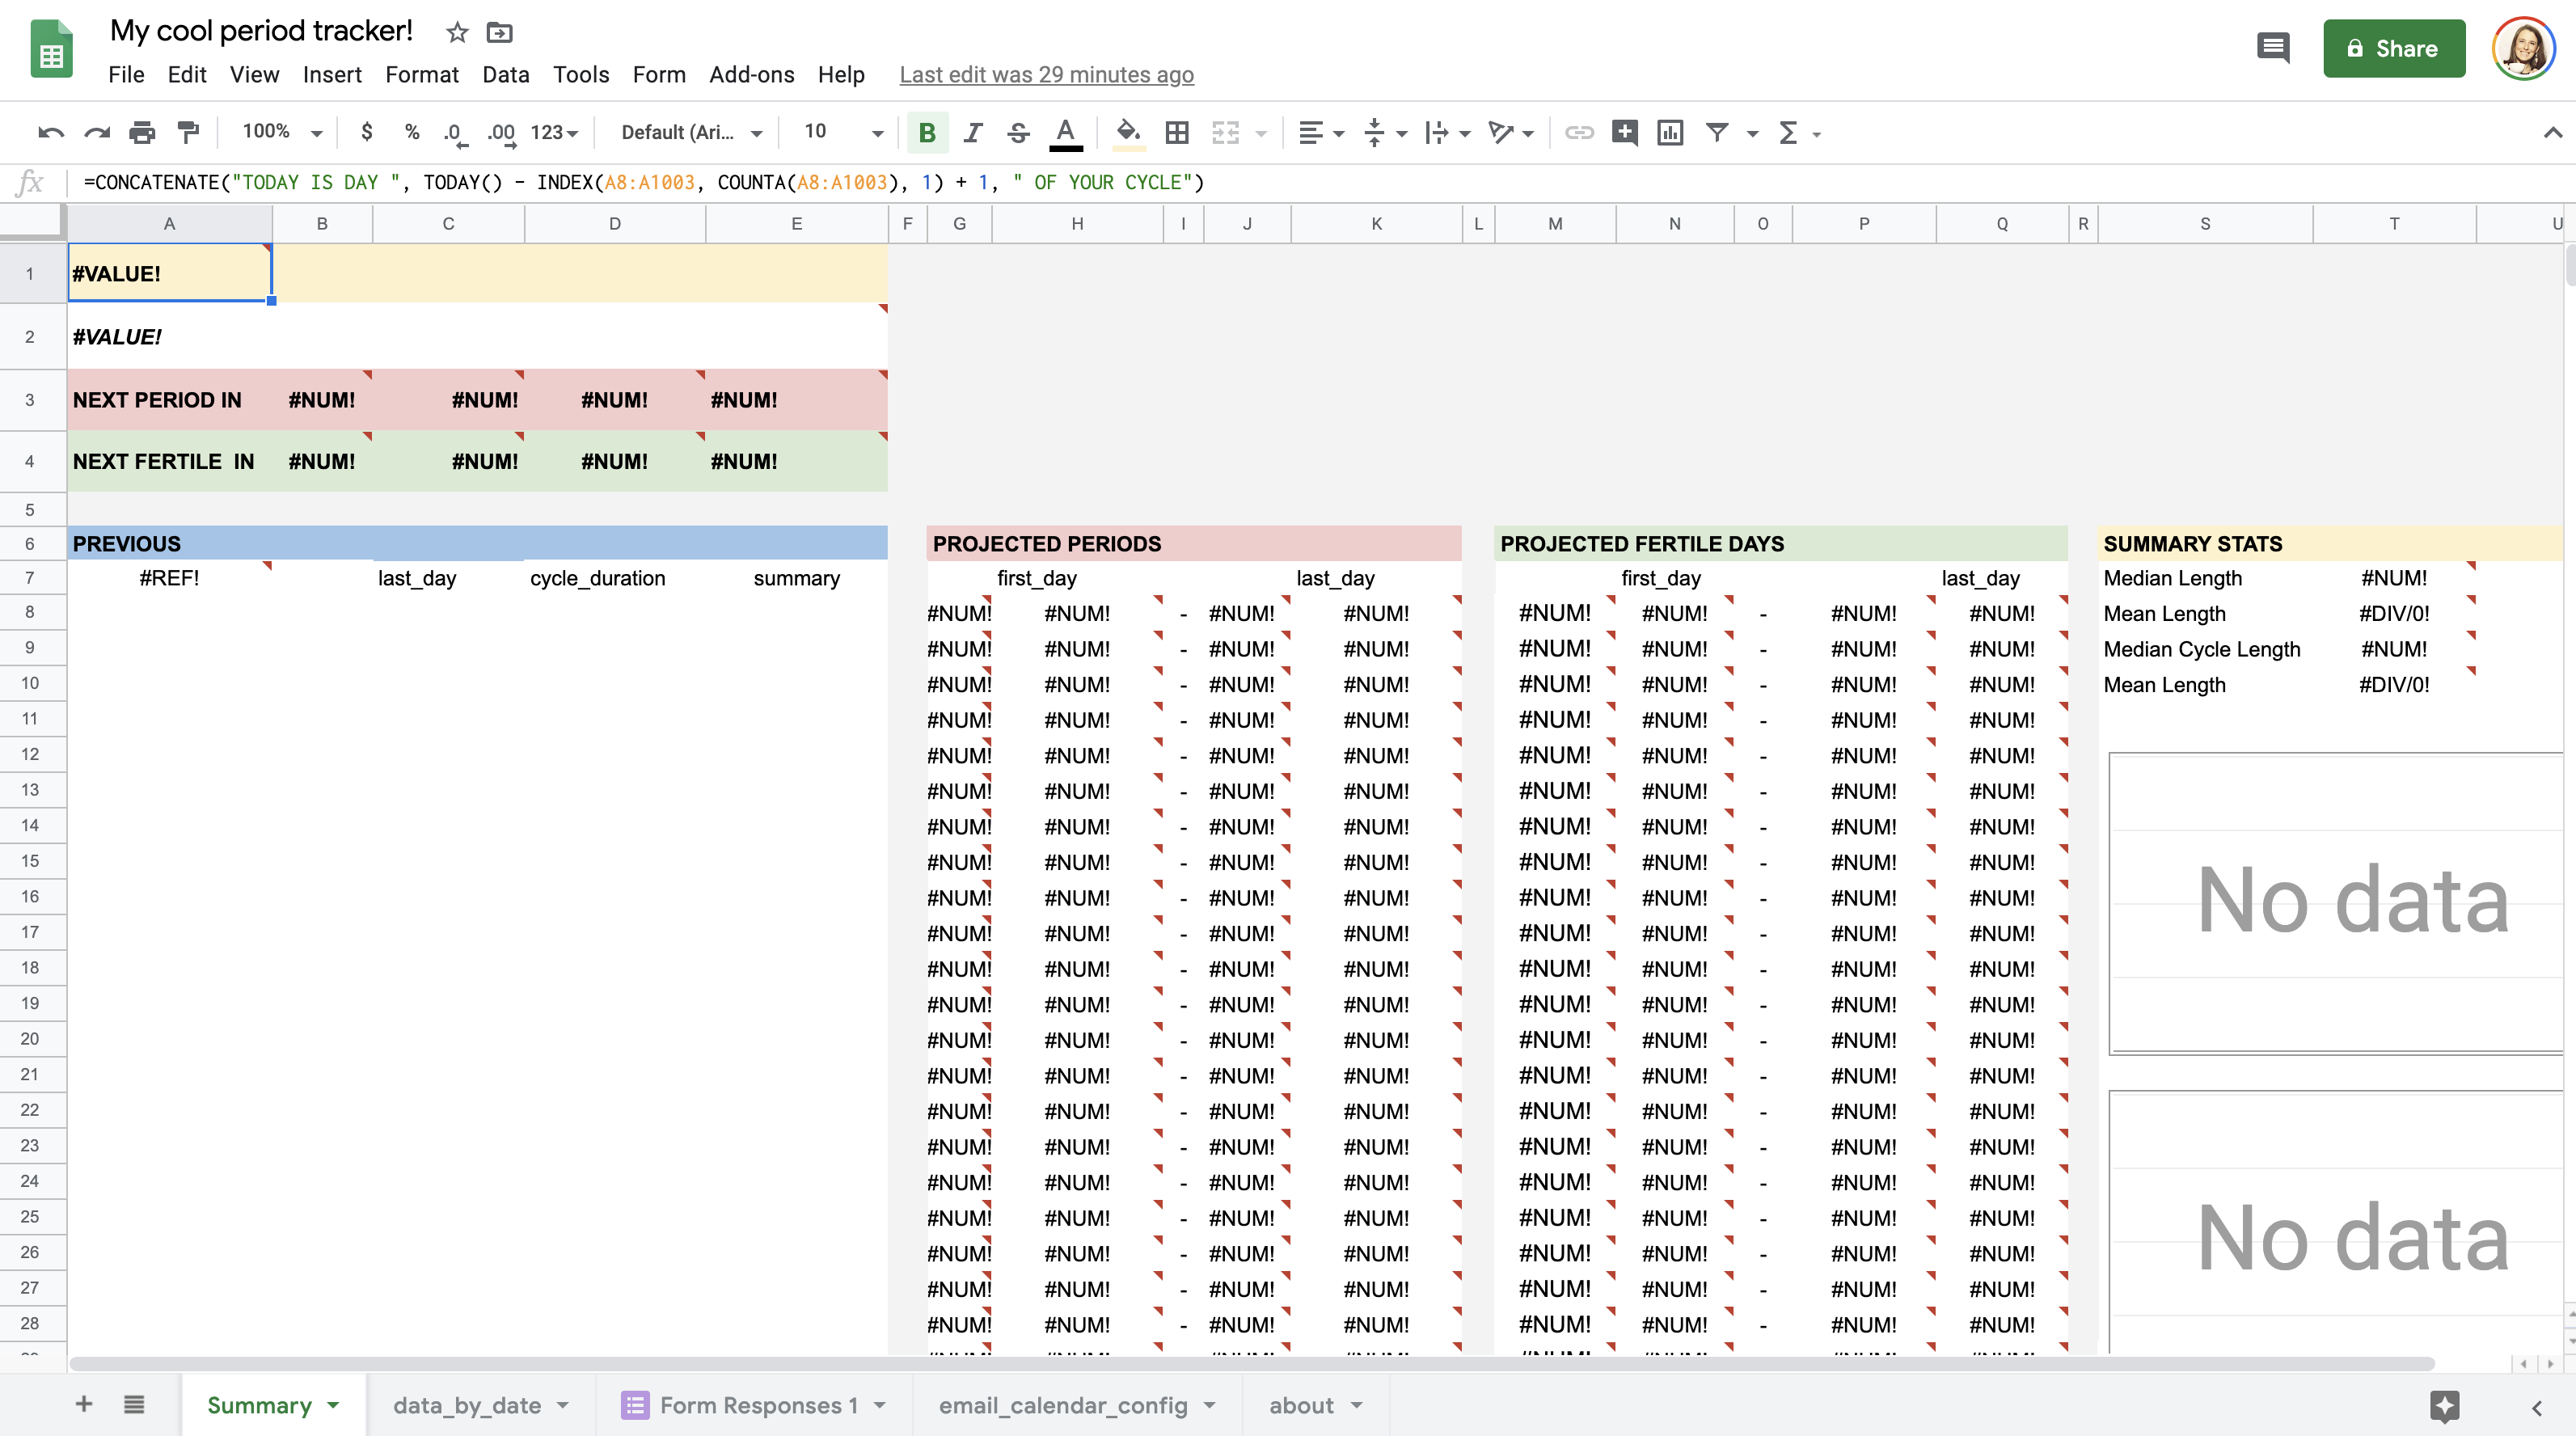
Open your copy of the tracker. (Make sure it's your copy, otherwise you won't be able to edit it.) You'll see a lot of #NUM! formula errors. To make those go away, and bring the app to life...
2. Enter your last 2 cycles/months of period data
The tracker will start working when it has at least 2 months worth of periods, as that will allow the tracker estimate a cycle length. If you're not sure of the exact dates, estimating is fine to start off. Make 1 entry for each day of your period.
You can enter your past data in two ways:
OPTION ONE: Directly enter data in the sheet (faster)
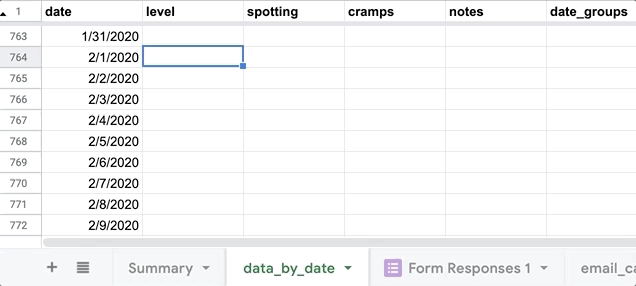
This is an option if you're more comfortable with spreadsheets, as you'll be editing raw data. Go to the data_by_date sheet and directly enter the heaviness of your period for each day you had it in the level column. 1=light, 2=medium, 3=heavy. You can also just enter all of one number if you don't know/care to track heaviness. If you want more than a 3-point scale, feel free to do something else... you'll just need to adjust the automatic conditional formatting for colors.
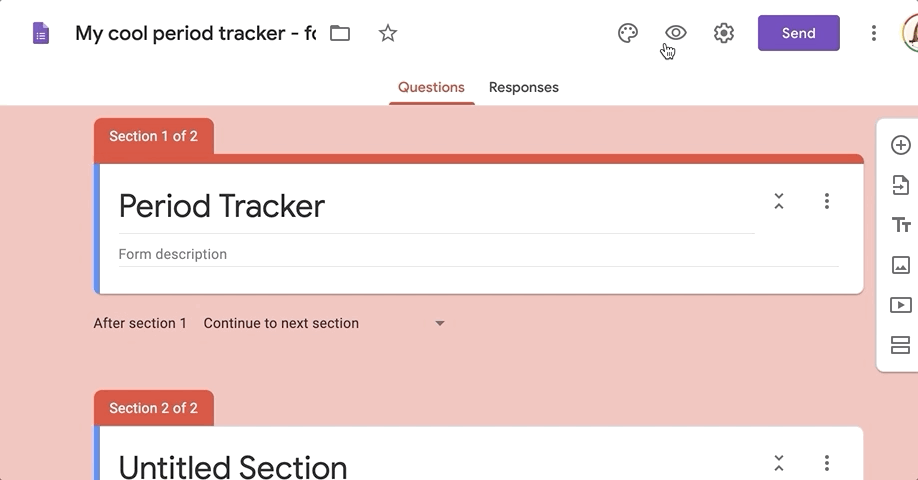
OPTION TWO: Enter data via your Google Form (slower, potentially less error-prone)
Go to the Google Form in your Drive, then click on the little eye that says "Preview." You will need to fill out the form once for EACH day of your period that you want to record.
3. Cool, that's it. Keep tracking and explore your data
...and add additional integrations below,
if you'd like.
It's simple to keep tracking: Whenever you have your period, make an entry each day, either in the form or directly into the sheet. This will keep your data and predictions up-to-date.
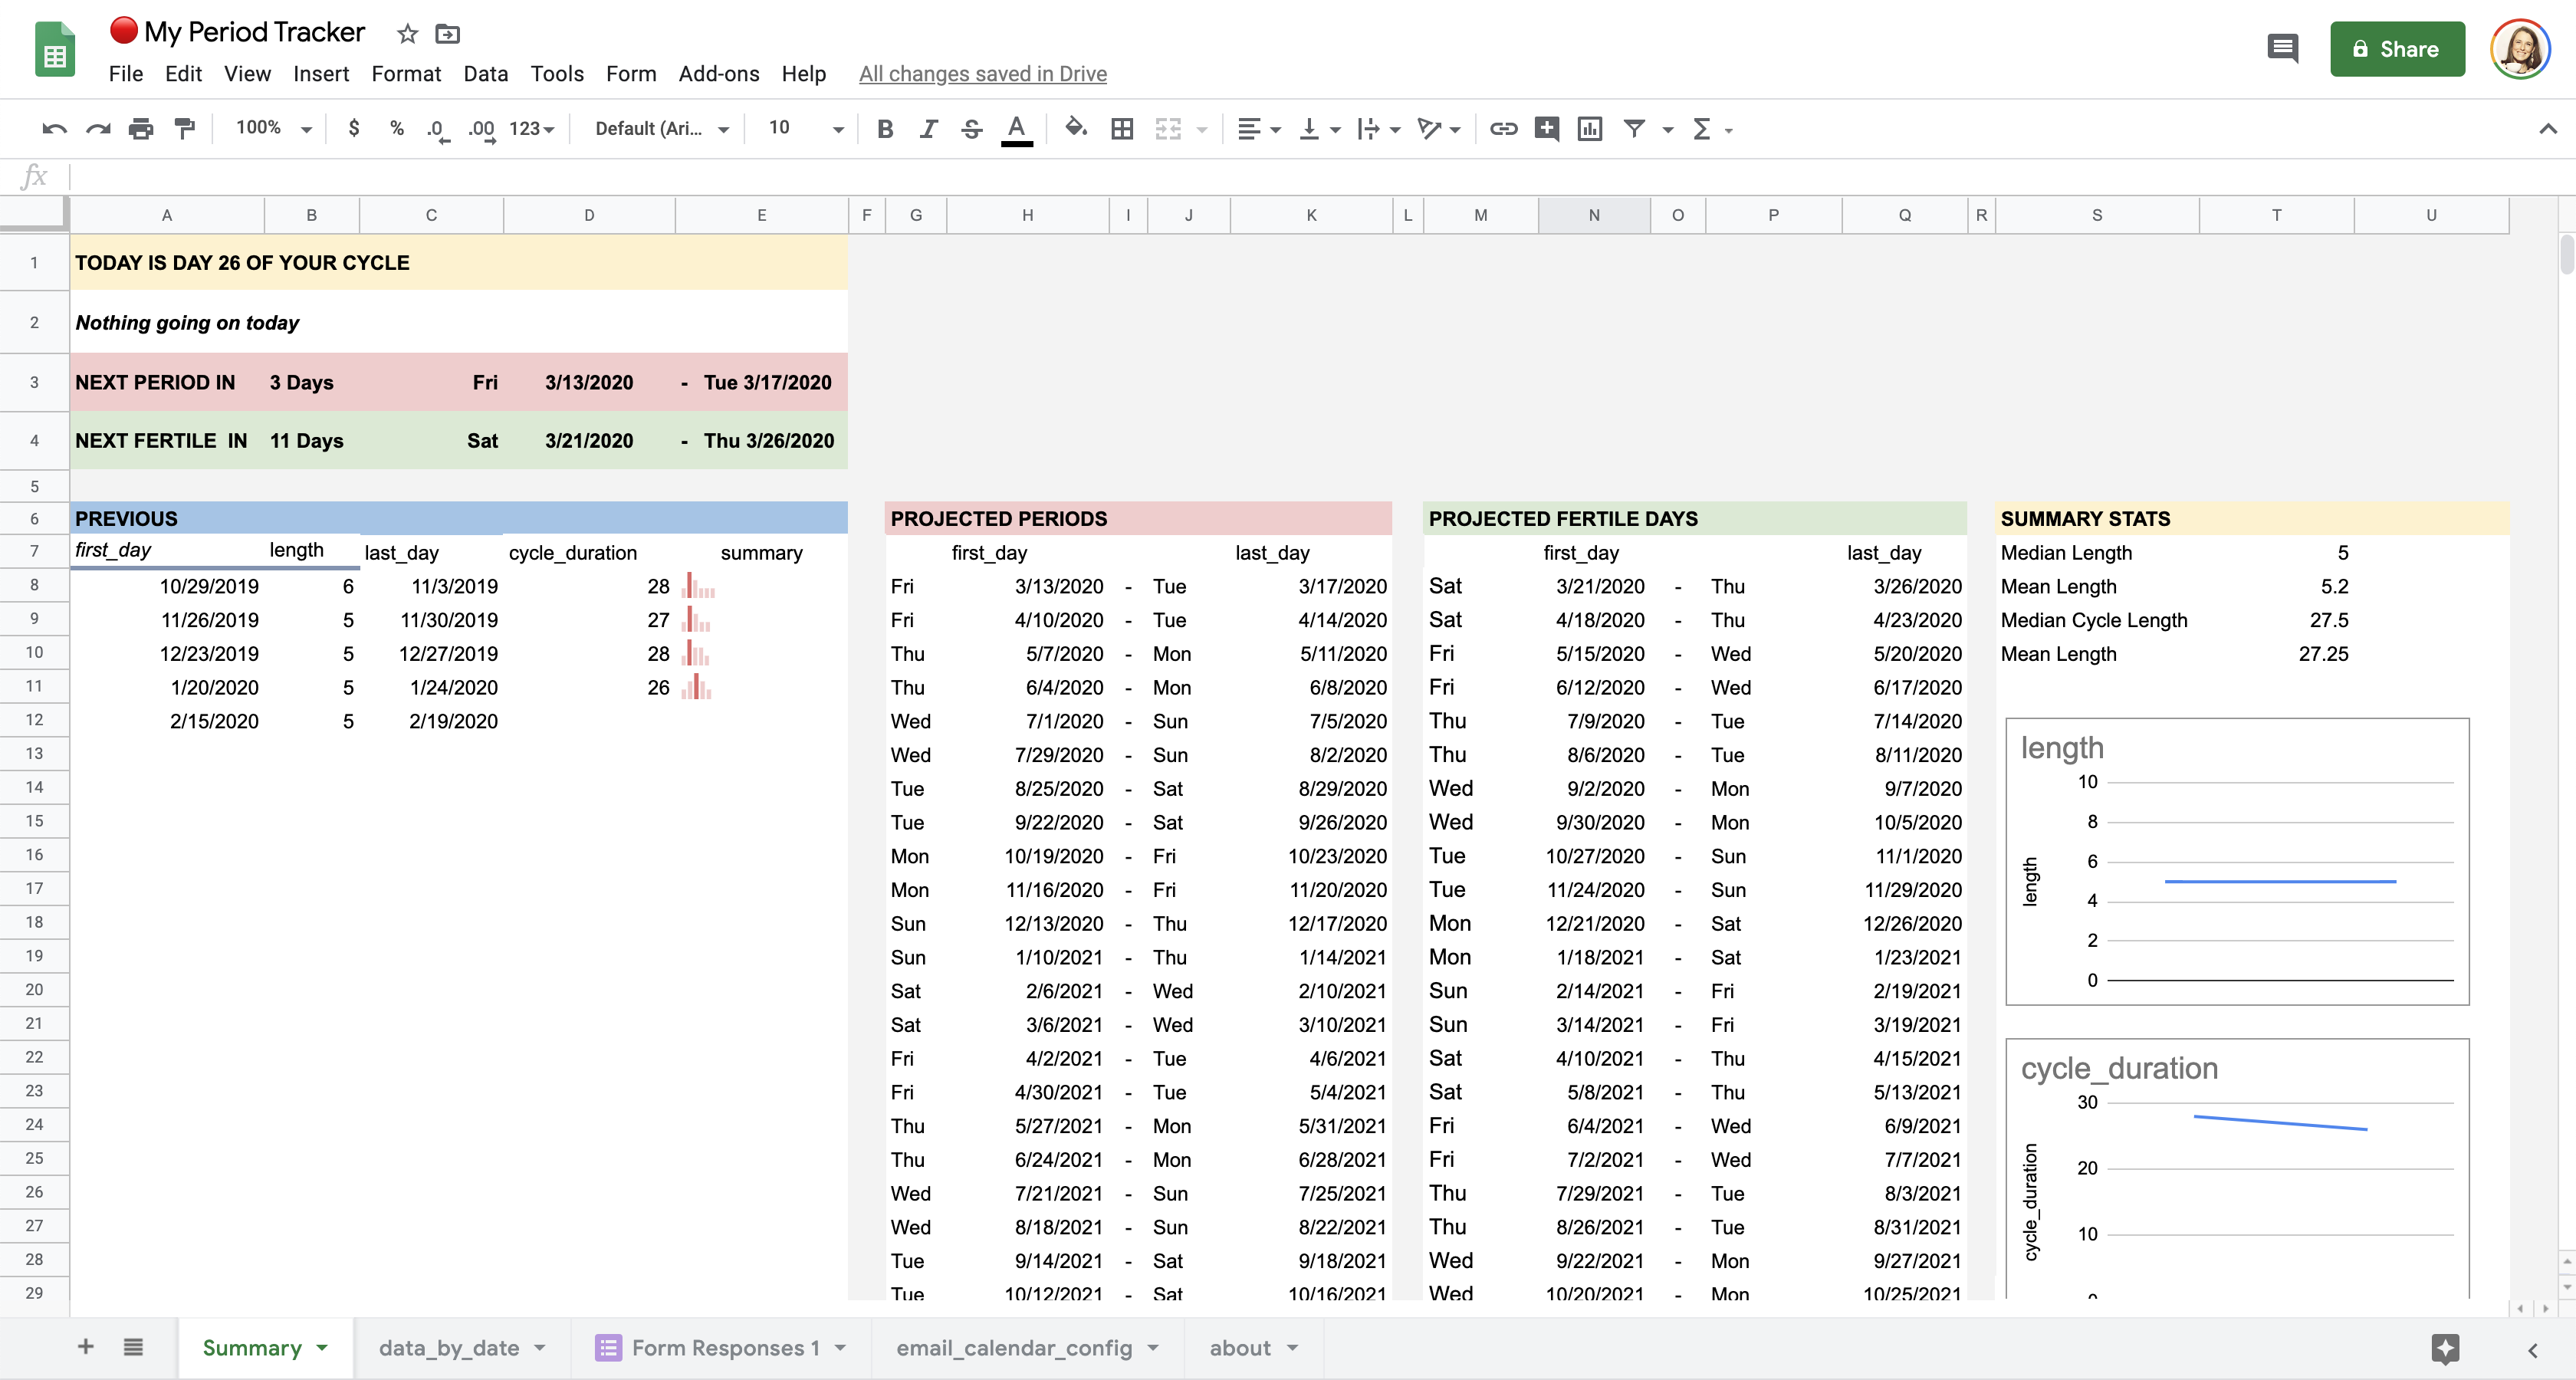
The Summary tab of the tracker sheet will be your hub of information on periods past and present. Don't directly edit data in this sheet: it is all read in via other sheets.
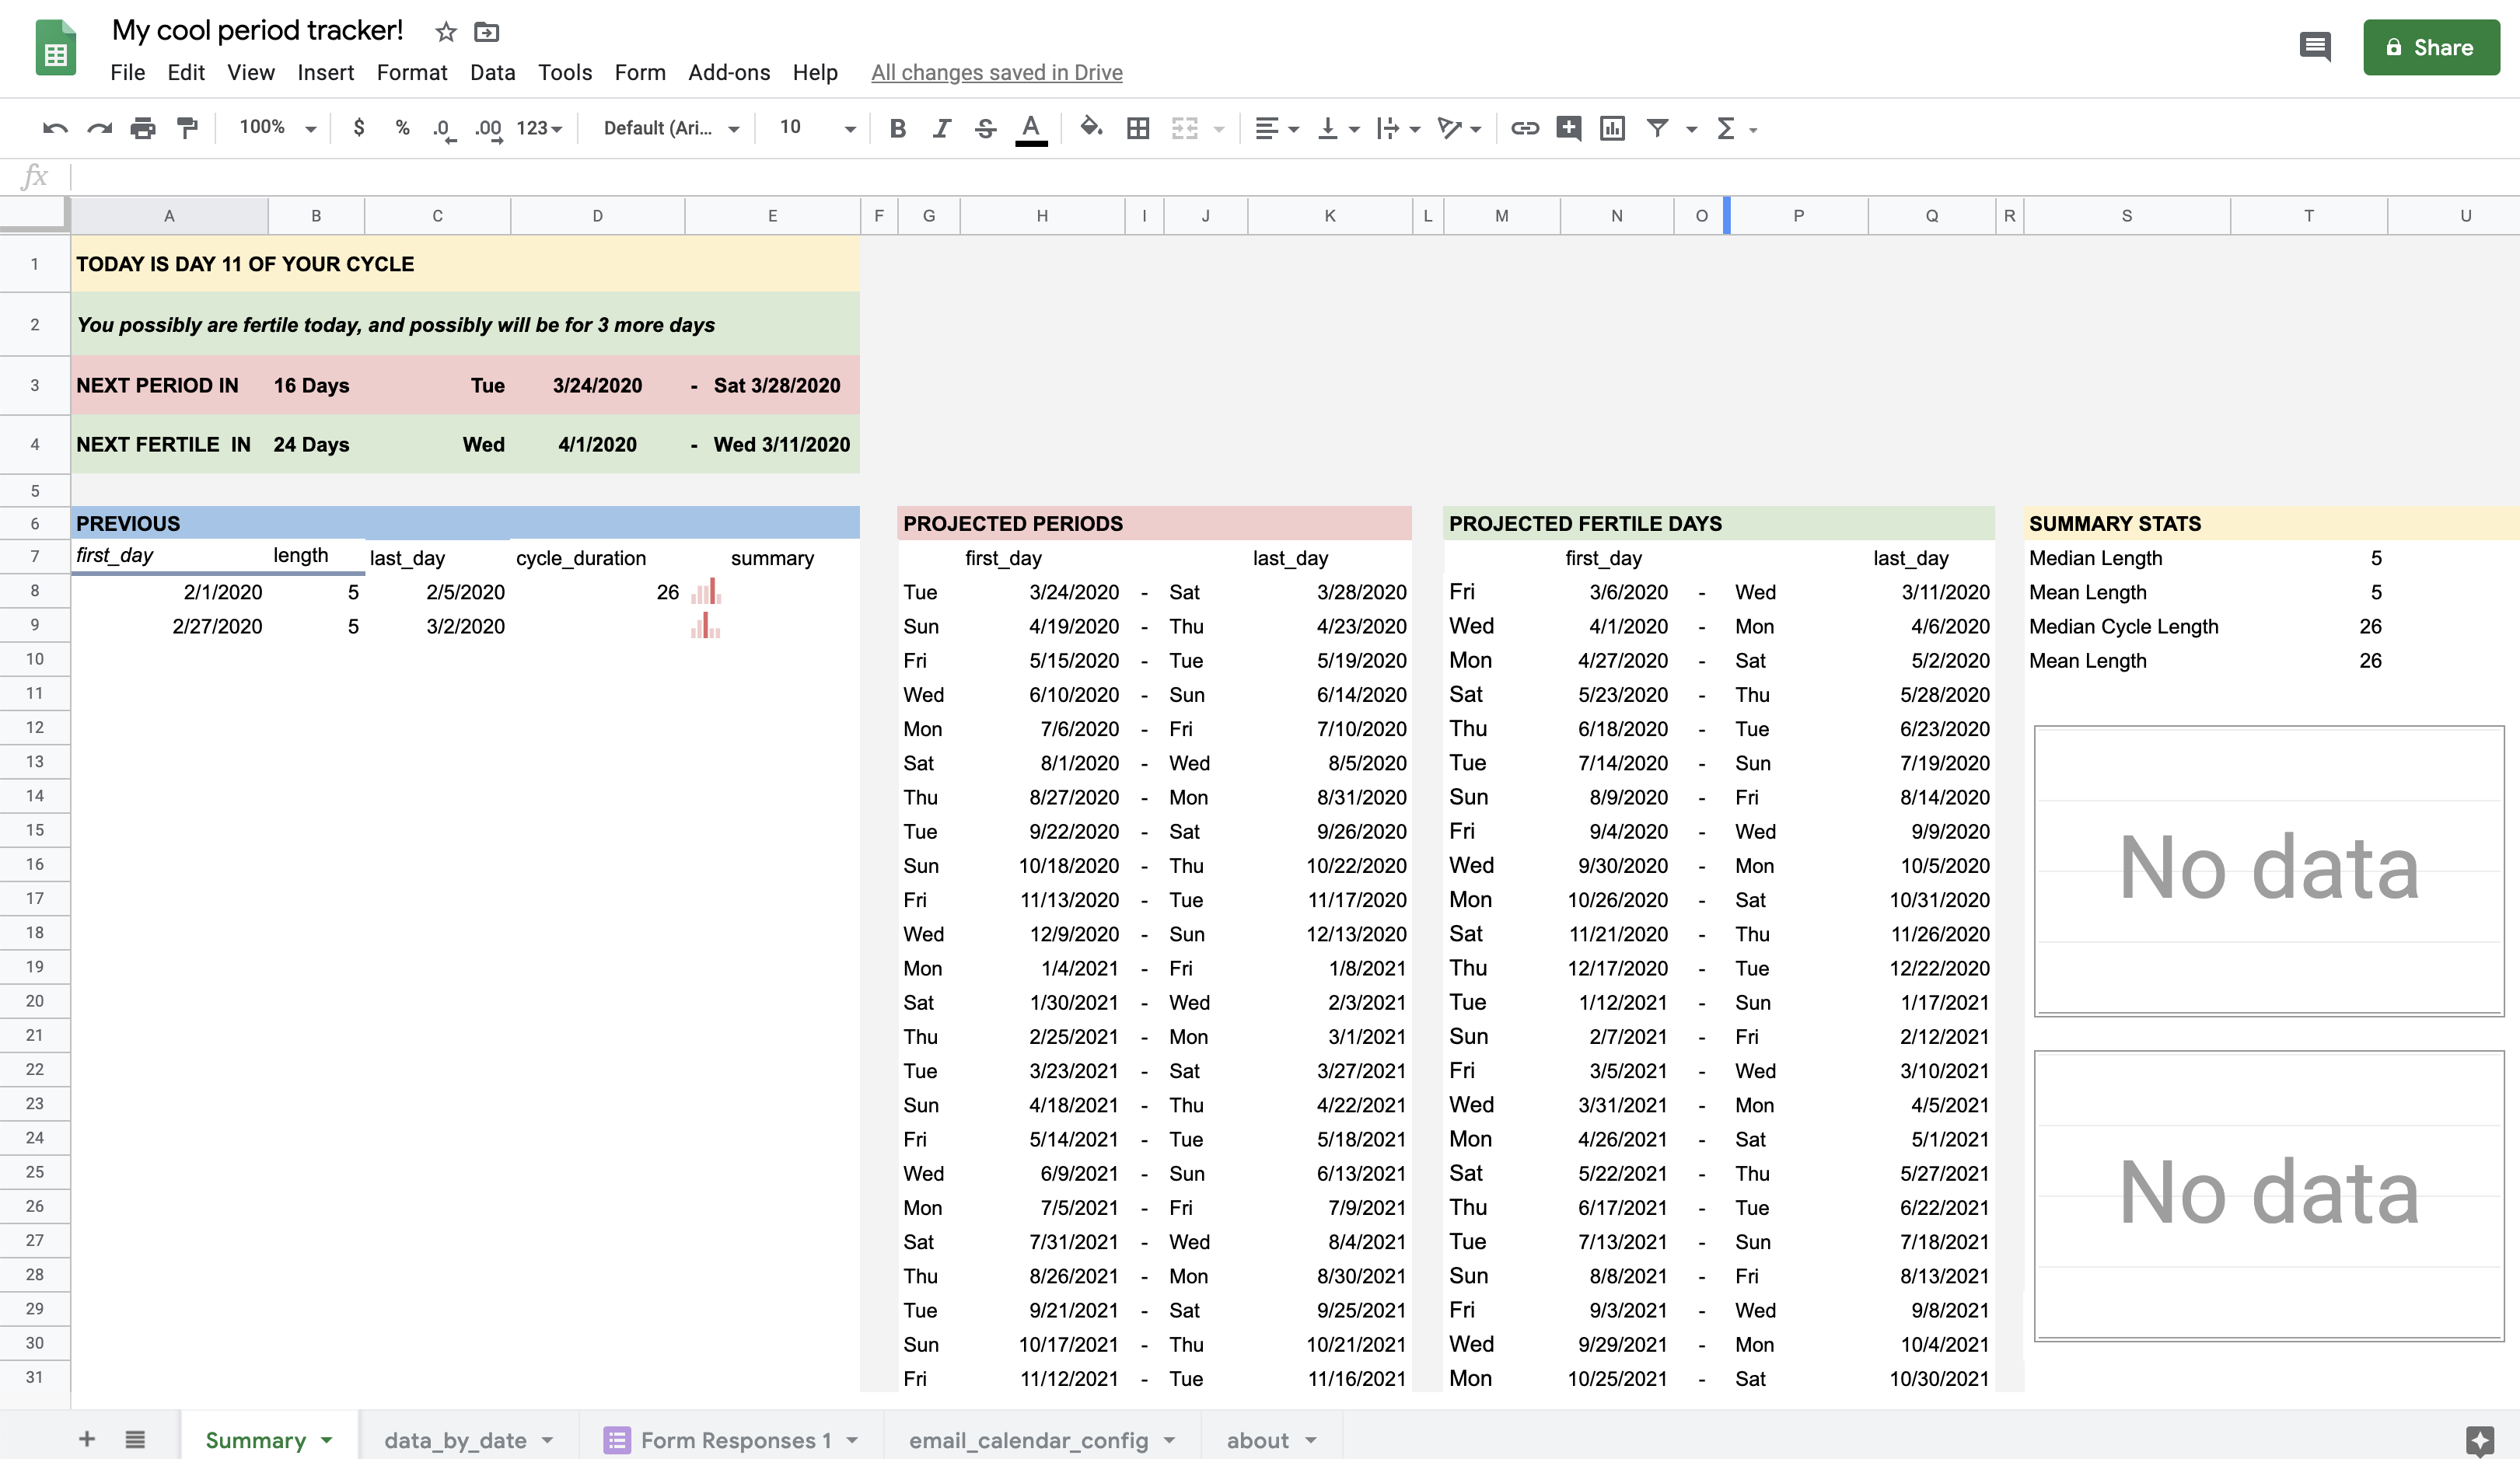
The top section will give you an English-language overview of what's currently going on in your cycle, as well as when you can expect your next period and fertile period.
Further down, you can see data on your past cycles, and small bar charts to give you a quick overview of your cycle trends. You can see the dates for projected periods / fertility, and use those as you'd like. I make no claims, medical or otherwise, that predictions will be accurate, but it has been useful for me.
The charts to the right that currently say 'No data' will start to populate once you've entered a few more periods. They'll show you trend lines on period duration and cycle length.
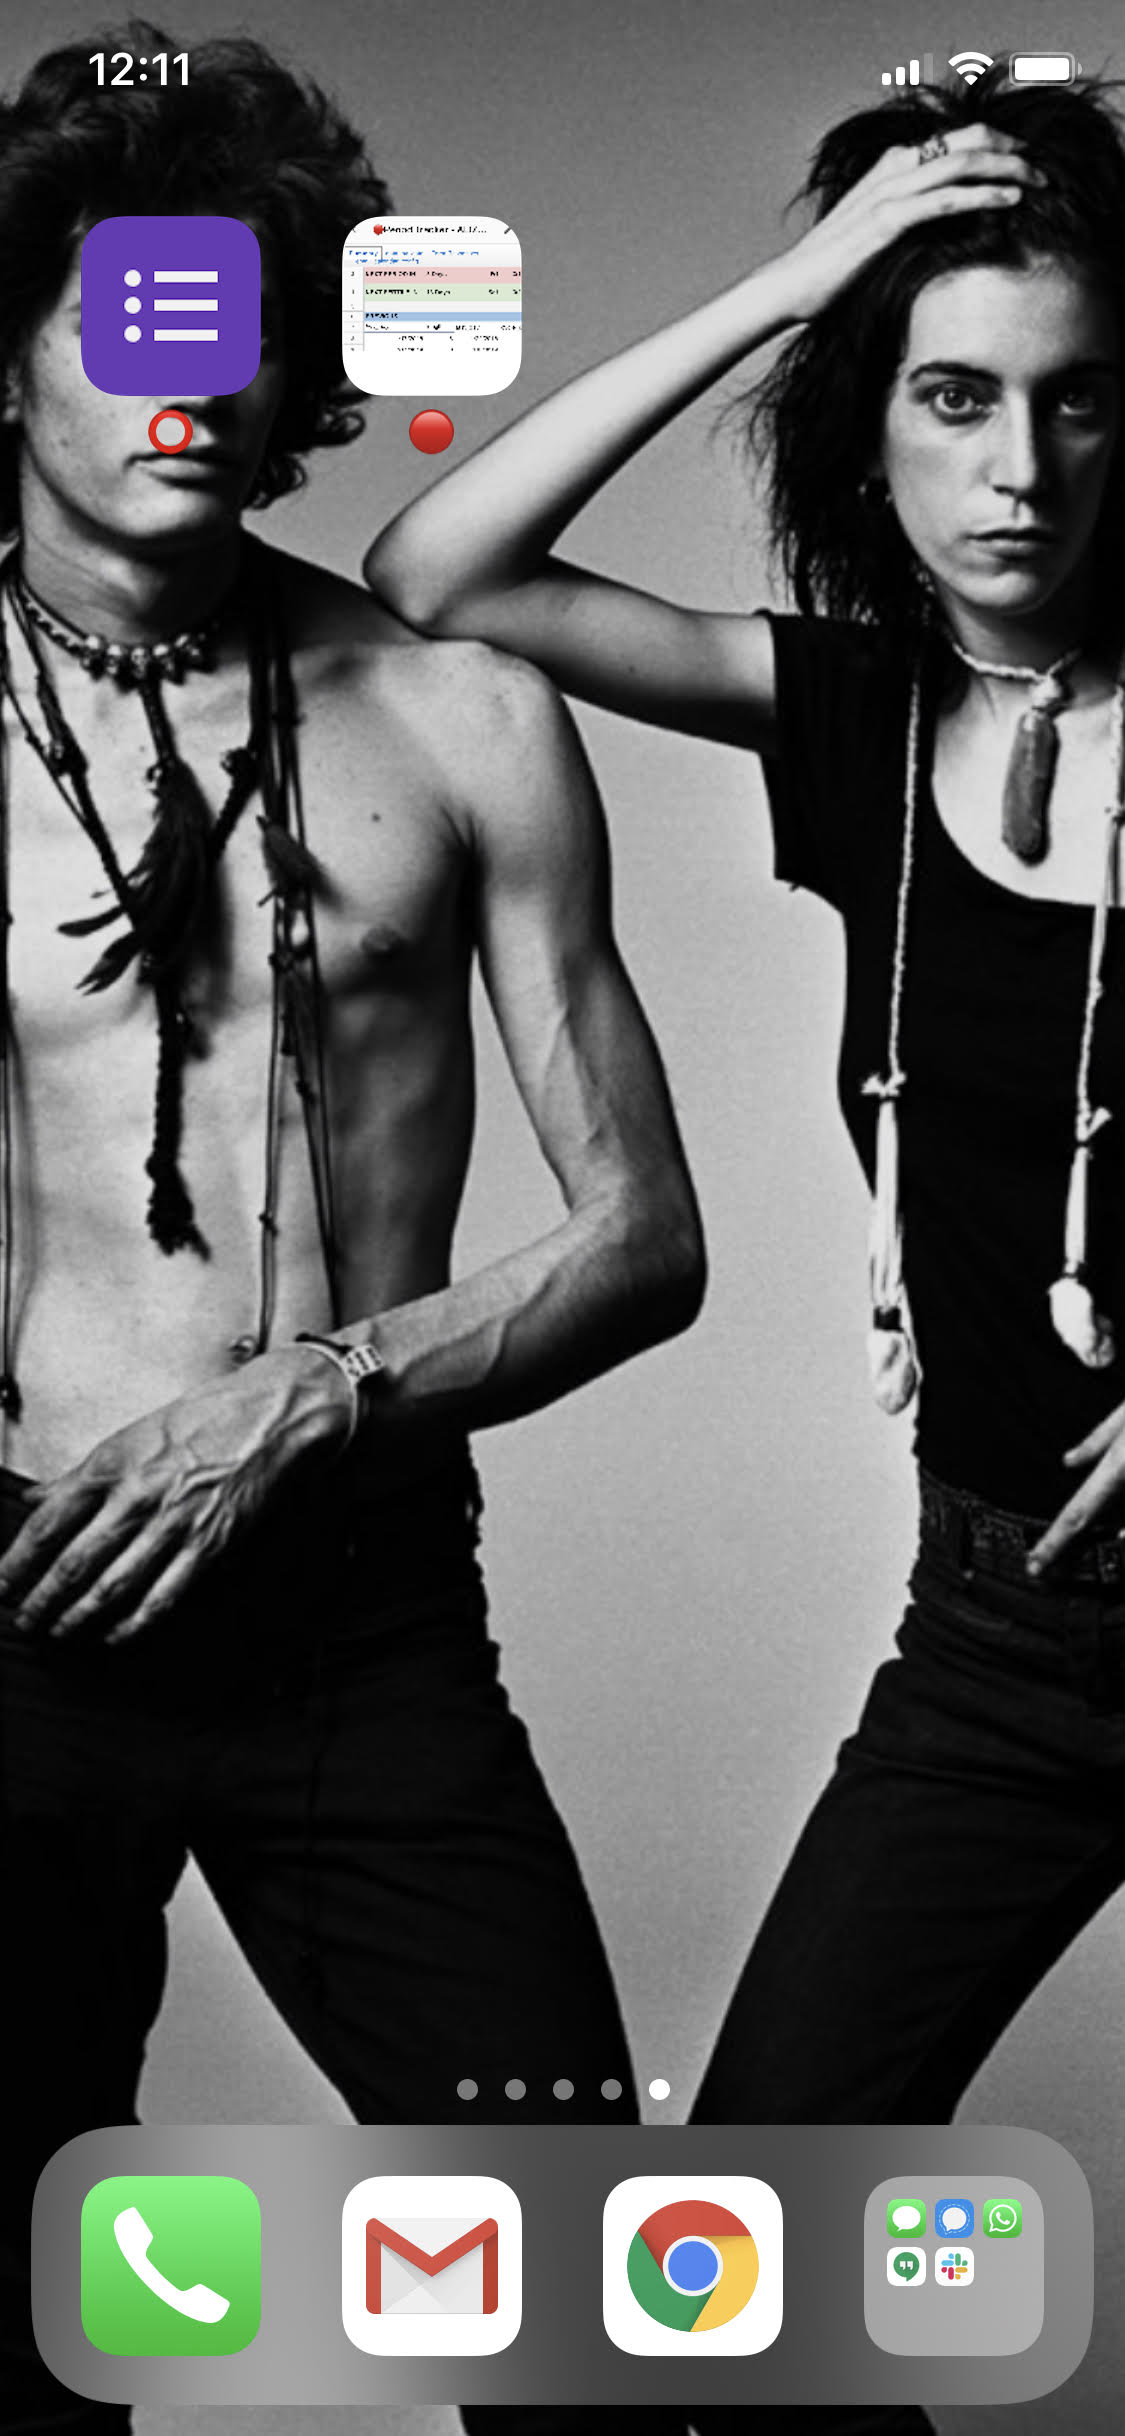
For future easy access, you may want to bookmark the tracker sheet and form on your phone and/or computer. For example, I made homescreen shortcuts on my iPhone for the form and the summary. (Yes, that's my phone background.)
🔴 Add Optional Email & Calendar Integration
These steps are more complicated than the quick set-up. If you are familiar with JavaScript and Google Apps Scripts, you may find this less mysterious, and will also be able to make modifications you're interested in. That said, you don't need to know anything about coding to do it: just follow these directions exactly.
1. Configure Email Alerts
You can set up the tracker to email you (and anyone you'd like! friends, lovers, etc.) when your period and fertility are probably coming.
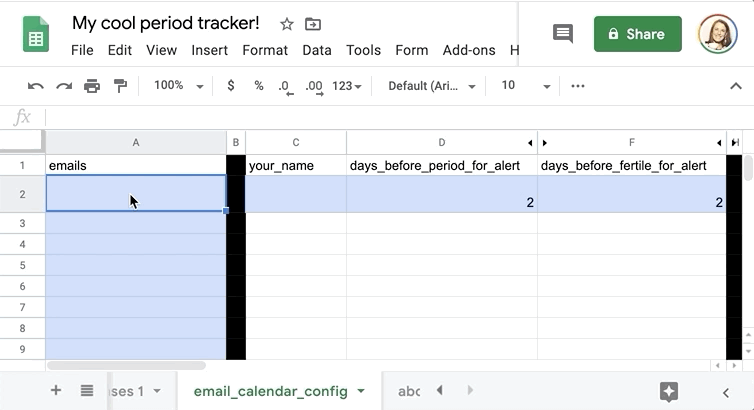
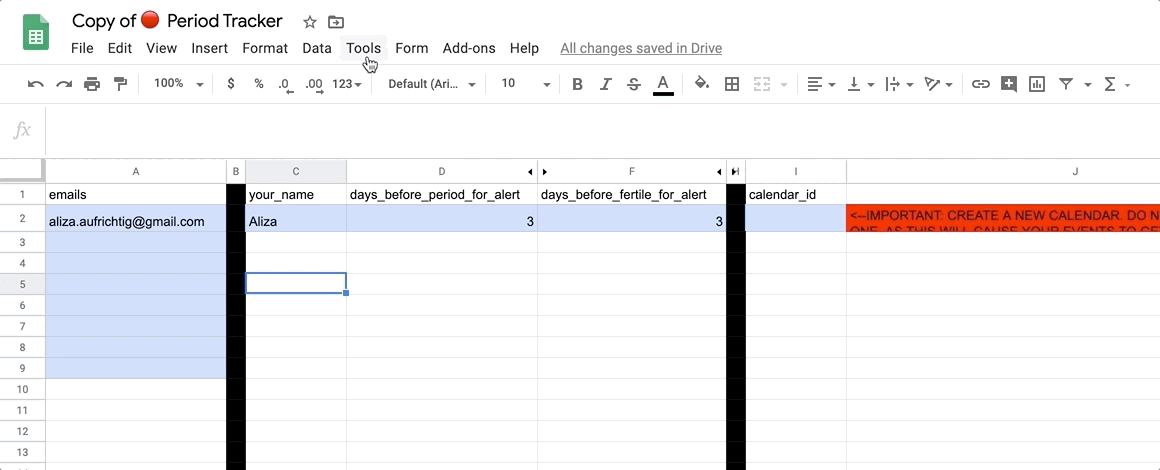
Go to the email_calendar_config sheet and enter your email address, and the emails of anyone else. Add your name (as this will get slotted into the email), and the number of days ahead of your period or fertility that you'd like to receive an alert.
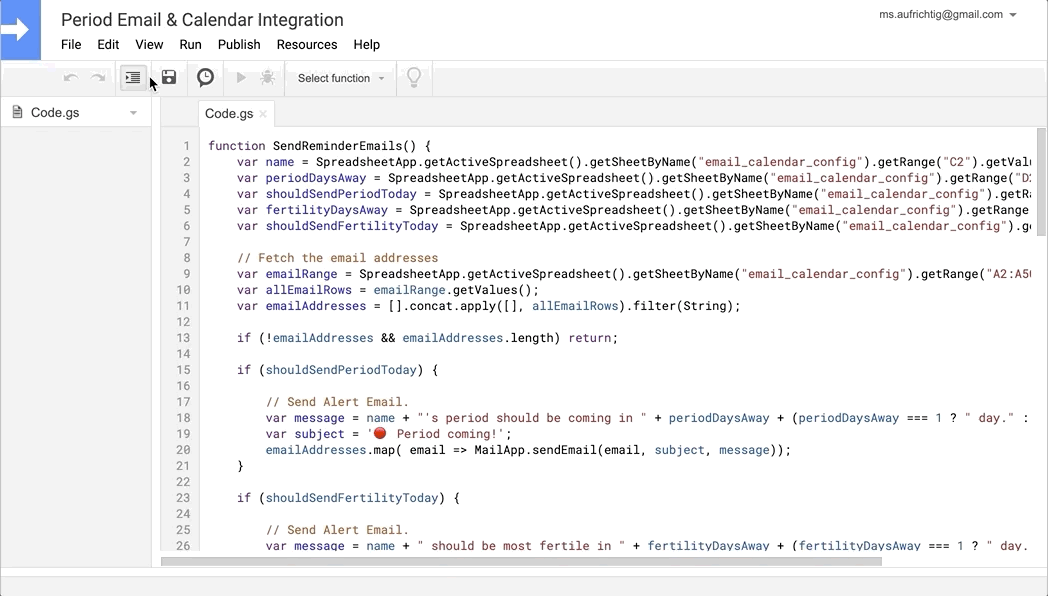
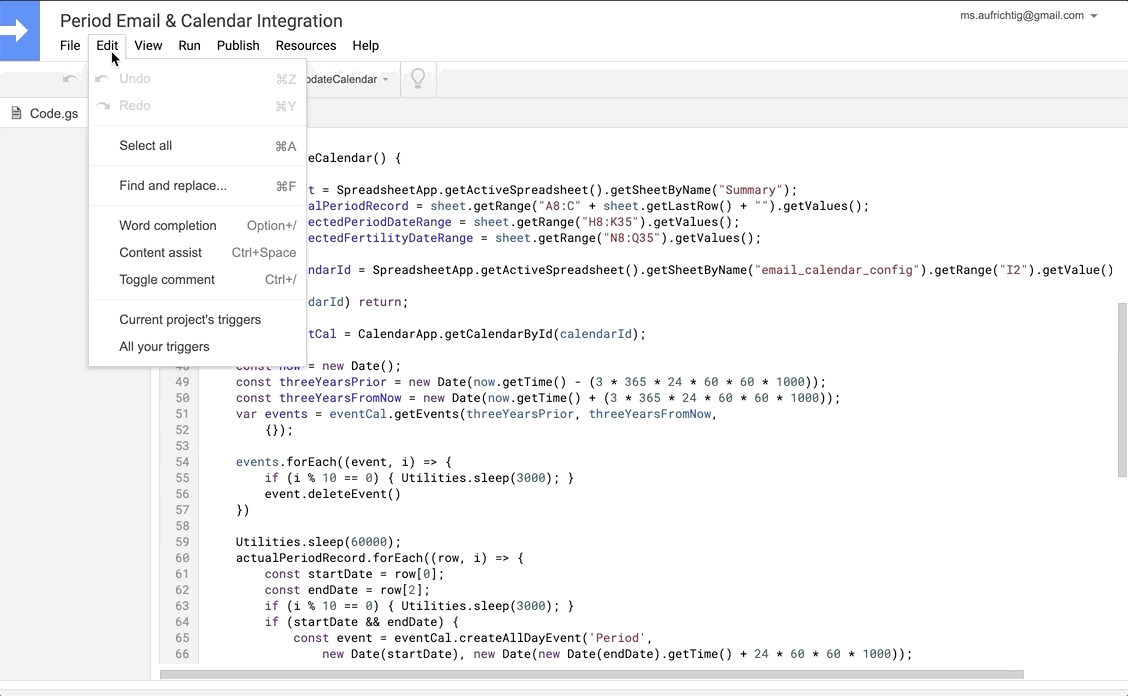
The email integration is powered by an Apps Script. To access the script, click on Tools > Script Editor.
Try to run the script. You might see an error the first time. Run it again, and then you'll be asked to approve permissions. The warnings are ominous, but you are only approving permissions for this local copy of the JavaScript functions you see to run--that means that nobody else can control the script (including me). Any edits you make to this file will only affect you, and not other users of this tracker. That said, if you aren't comfortable assessing the JavaScript here to see if you think it's safe, feel free to not proceed. (You'll have full app functionality without email and calendar).

Unless today happens to be exactly the number of days before your period that you set, nothing will happen. But if the script doesn't error, you can move to the next step, which is to set a trigger for this to run. Click Edit > Current project's triggers. Add a daily, time-based trigger for this email. This means the tracker will check each day whether it is X days before your period/fertility, and if it is, will email you.
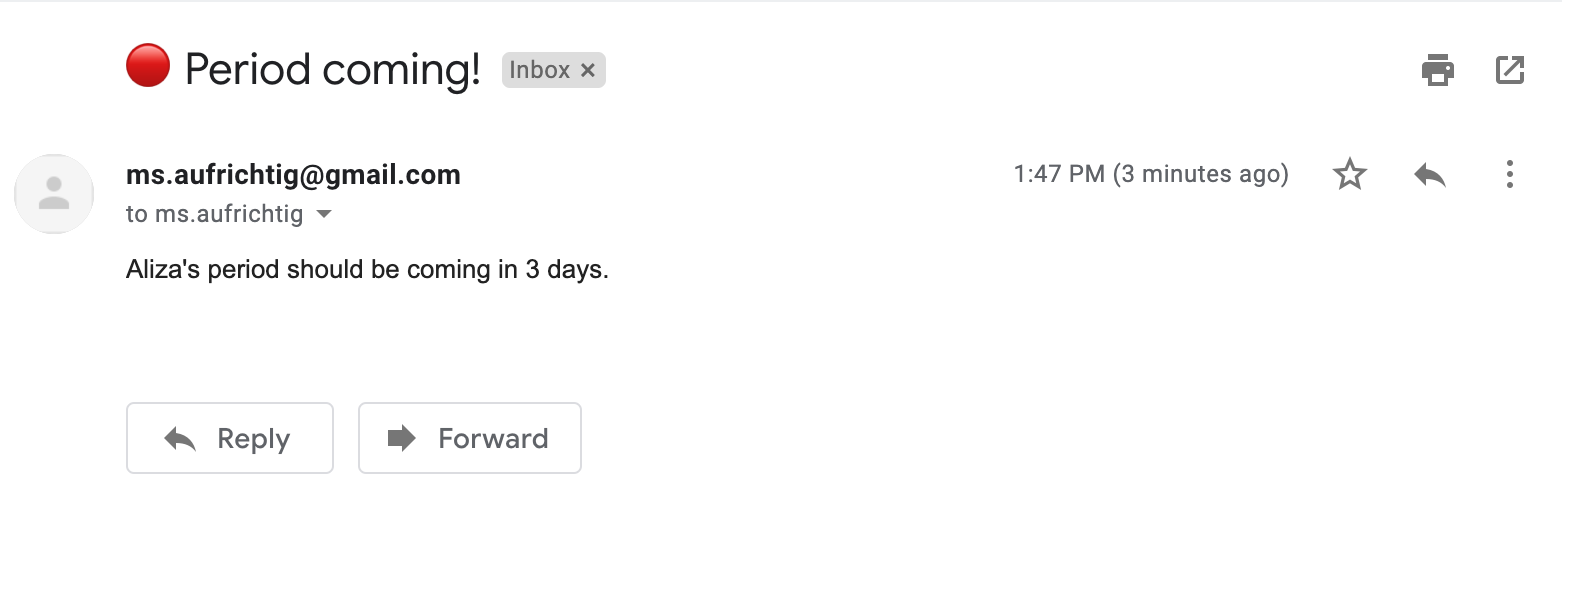
You (and your pals, if you included them) will then receive an email like this each month when it is X days ahead of your period or fertility. You can edit the text and subject line in the Script Editor if you'd like.
2. Configure Google Calendar integration
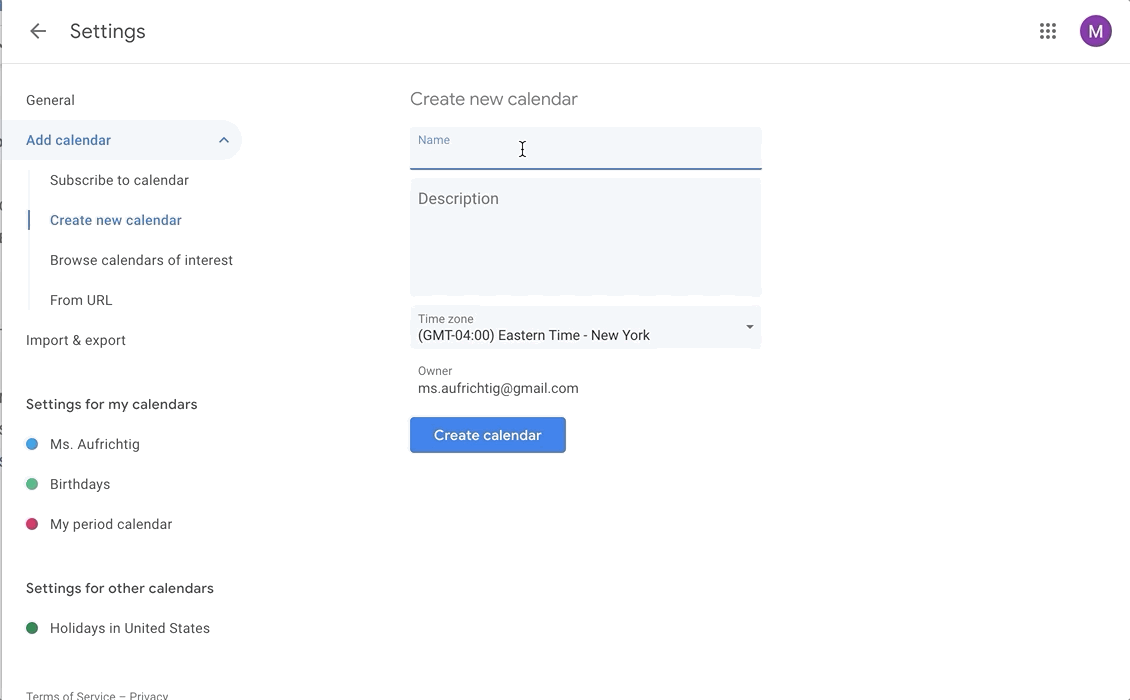
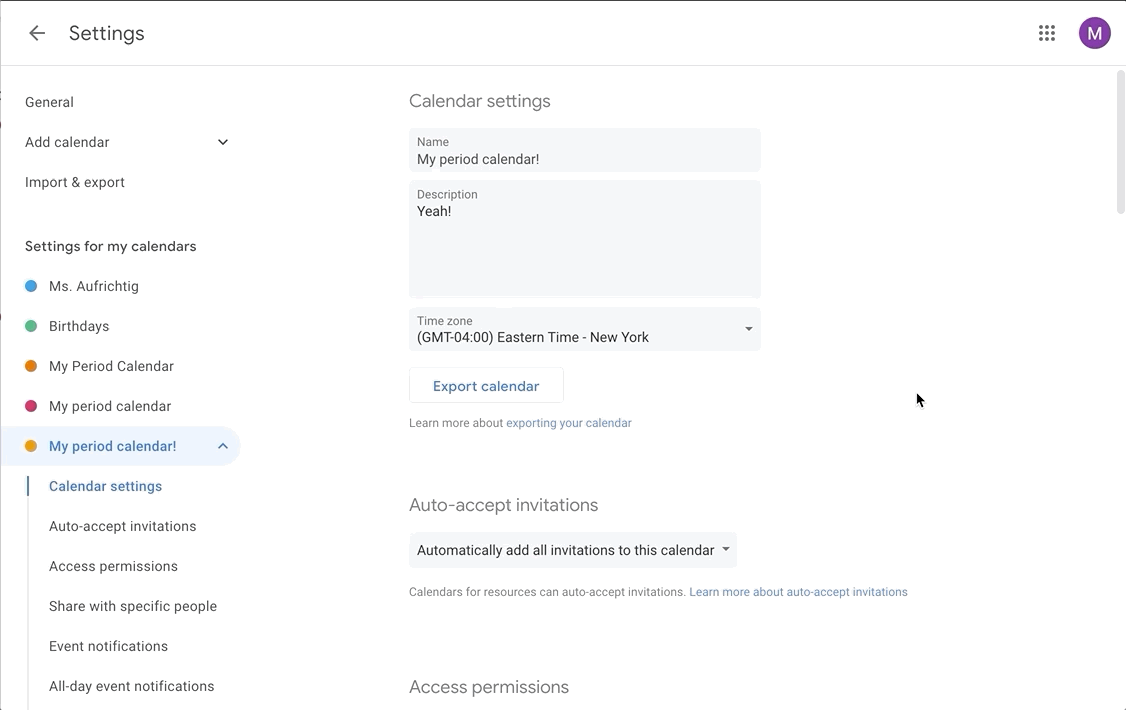
If you run your life out of your Google Calendar (I know I do), why not also just see your period history and projections there? To do this, first you must create a NEW Google Calendar. (The integration could delete events in your existing calendar, so do NOT use an existing calendar.) Create a new one here.
After you create your calendar, get the calendar ID and paste it into the correct cell in the email_calendar_config sheet.
Run the UpdateCalendar function once to create events on your new calendar. If you did not approve permissions for the app in the email step, you may need to do that again now.

Create a new trigger to run the UpdateCalendar function whenever you submit the form to enter more data. If you won't be using the form, you may want to make the trigger "on edit" for the spreadsheet. You may need to approve permissions again.
You will then see past periods and projected periods on your calendar, and it will update when you submit new period data each month.
🔴 Further Customization
The best thing about using sheets is that all the data and formulas are completely visible to you. So if you are able and so inclined, you can do whatever you want with the data. Some ideas and customizations:
- Change the rating scale of period flow to something besides 1-3
- Create additional analysis and charts
- Track anything else on a daily basis and view it summarized
- Change fertility projections if you don't like the defaults
Make something cool? I'd love to know.
Last updated March 27, 2020.